Free Shipping On Orders Over $100

Bike Finder

FIND PARTS

CRF450R 2026 Bike Build

Tokyomods Project Bike

2026 Honda CRF450R Build & Race Prep

Follow our 2026 Honda CRF450R from the dealership floor through race prep, ECU programming and ride testing. Follow the work behind the build, the reasons for each change and what we learn when the bike hits the dirt.

ECU programming is complete, and the ride results are in. Reprogramming Modes 2 and 3 resolved the flameouts and stalling on our follow-up ride, with improved throttle response and power delivery.

Update 01 • The Starting Point

Stock Bike. First Steps.

Our starting point was a brand-new 2026 Honda CRF450R with zero hours and everything stock. Before performance changes or the first ride, we opened up the chassis for inspection and bearing service. The updates below follow that preparation through ECU programming and our first ride impressions.

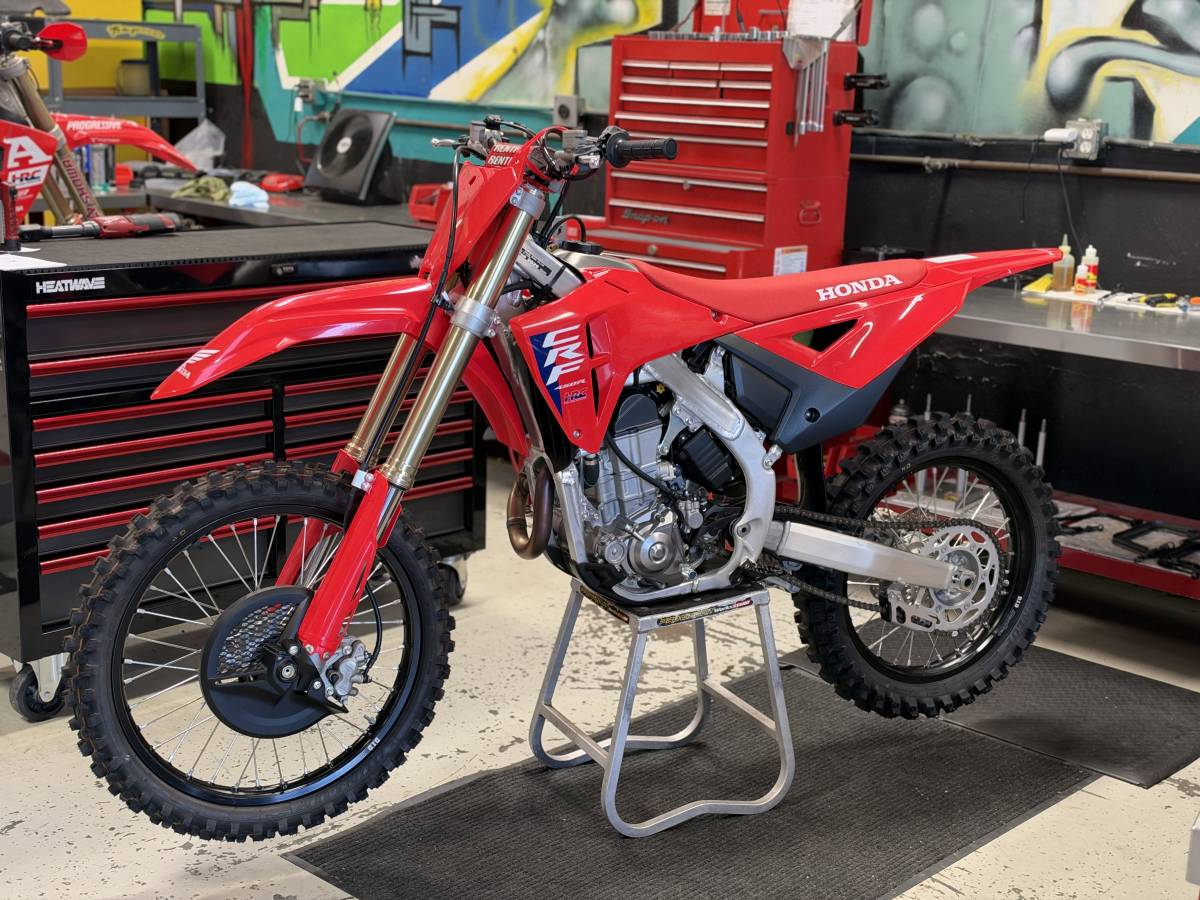
Stock 2026 Honda CRF450R on a stand in the workshop before race prep and chassis service
Zero hours and all stock: our 2026 Honda CRF450R before race prep and chassis service.

Build at a Glance

  • Bike: 2026 Honda CRF450R.
  • Starting condition: Brand new; 0 hours; all stock.
  • Current stage: ECU programming complete; follow-up ride completed.
  • ECU setup: Stock ECU with Tokyomods-programmed Modes 2 and 3.
  • Ride testing: Flameouts and stalling resolved on our follow-up ride.
  • Last updated: .

Follow the work from the shop to the track. Chassis-prep photos, our ECU programming update and ride feedback are below. We'll keep adding to the page as the build progresses.

Update 02 • Race Prep & Chassis Service

New Bike? Check the Bearings. Grease the Chassis.

Brand new doesn't mean ready for the first ride. Our 2026 Honda CRF450R came apart for race prep, and the chassis bearings we inspected were virtually dry. Before the performance upgrades, we're taking care of the basics.

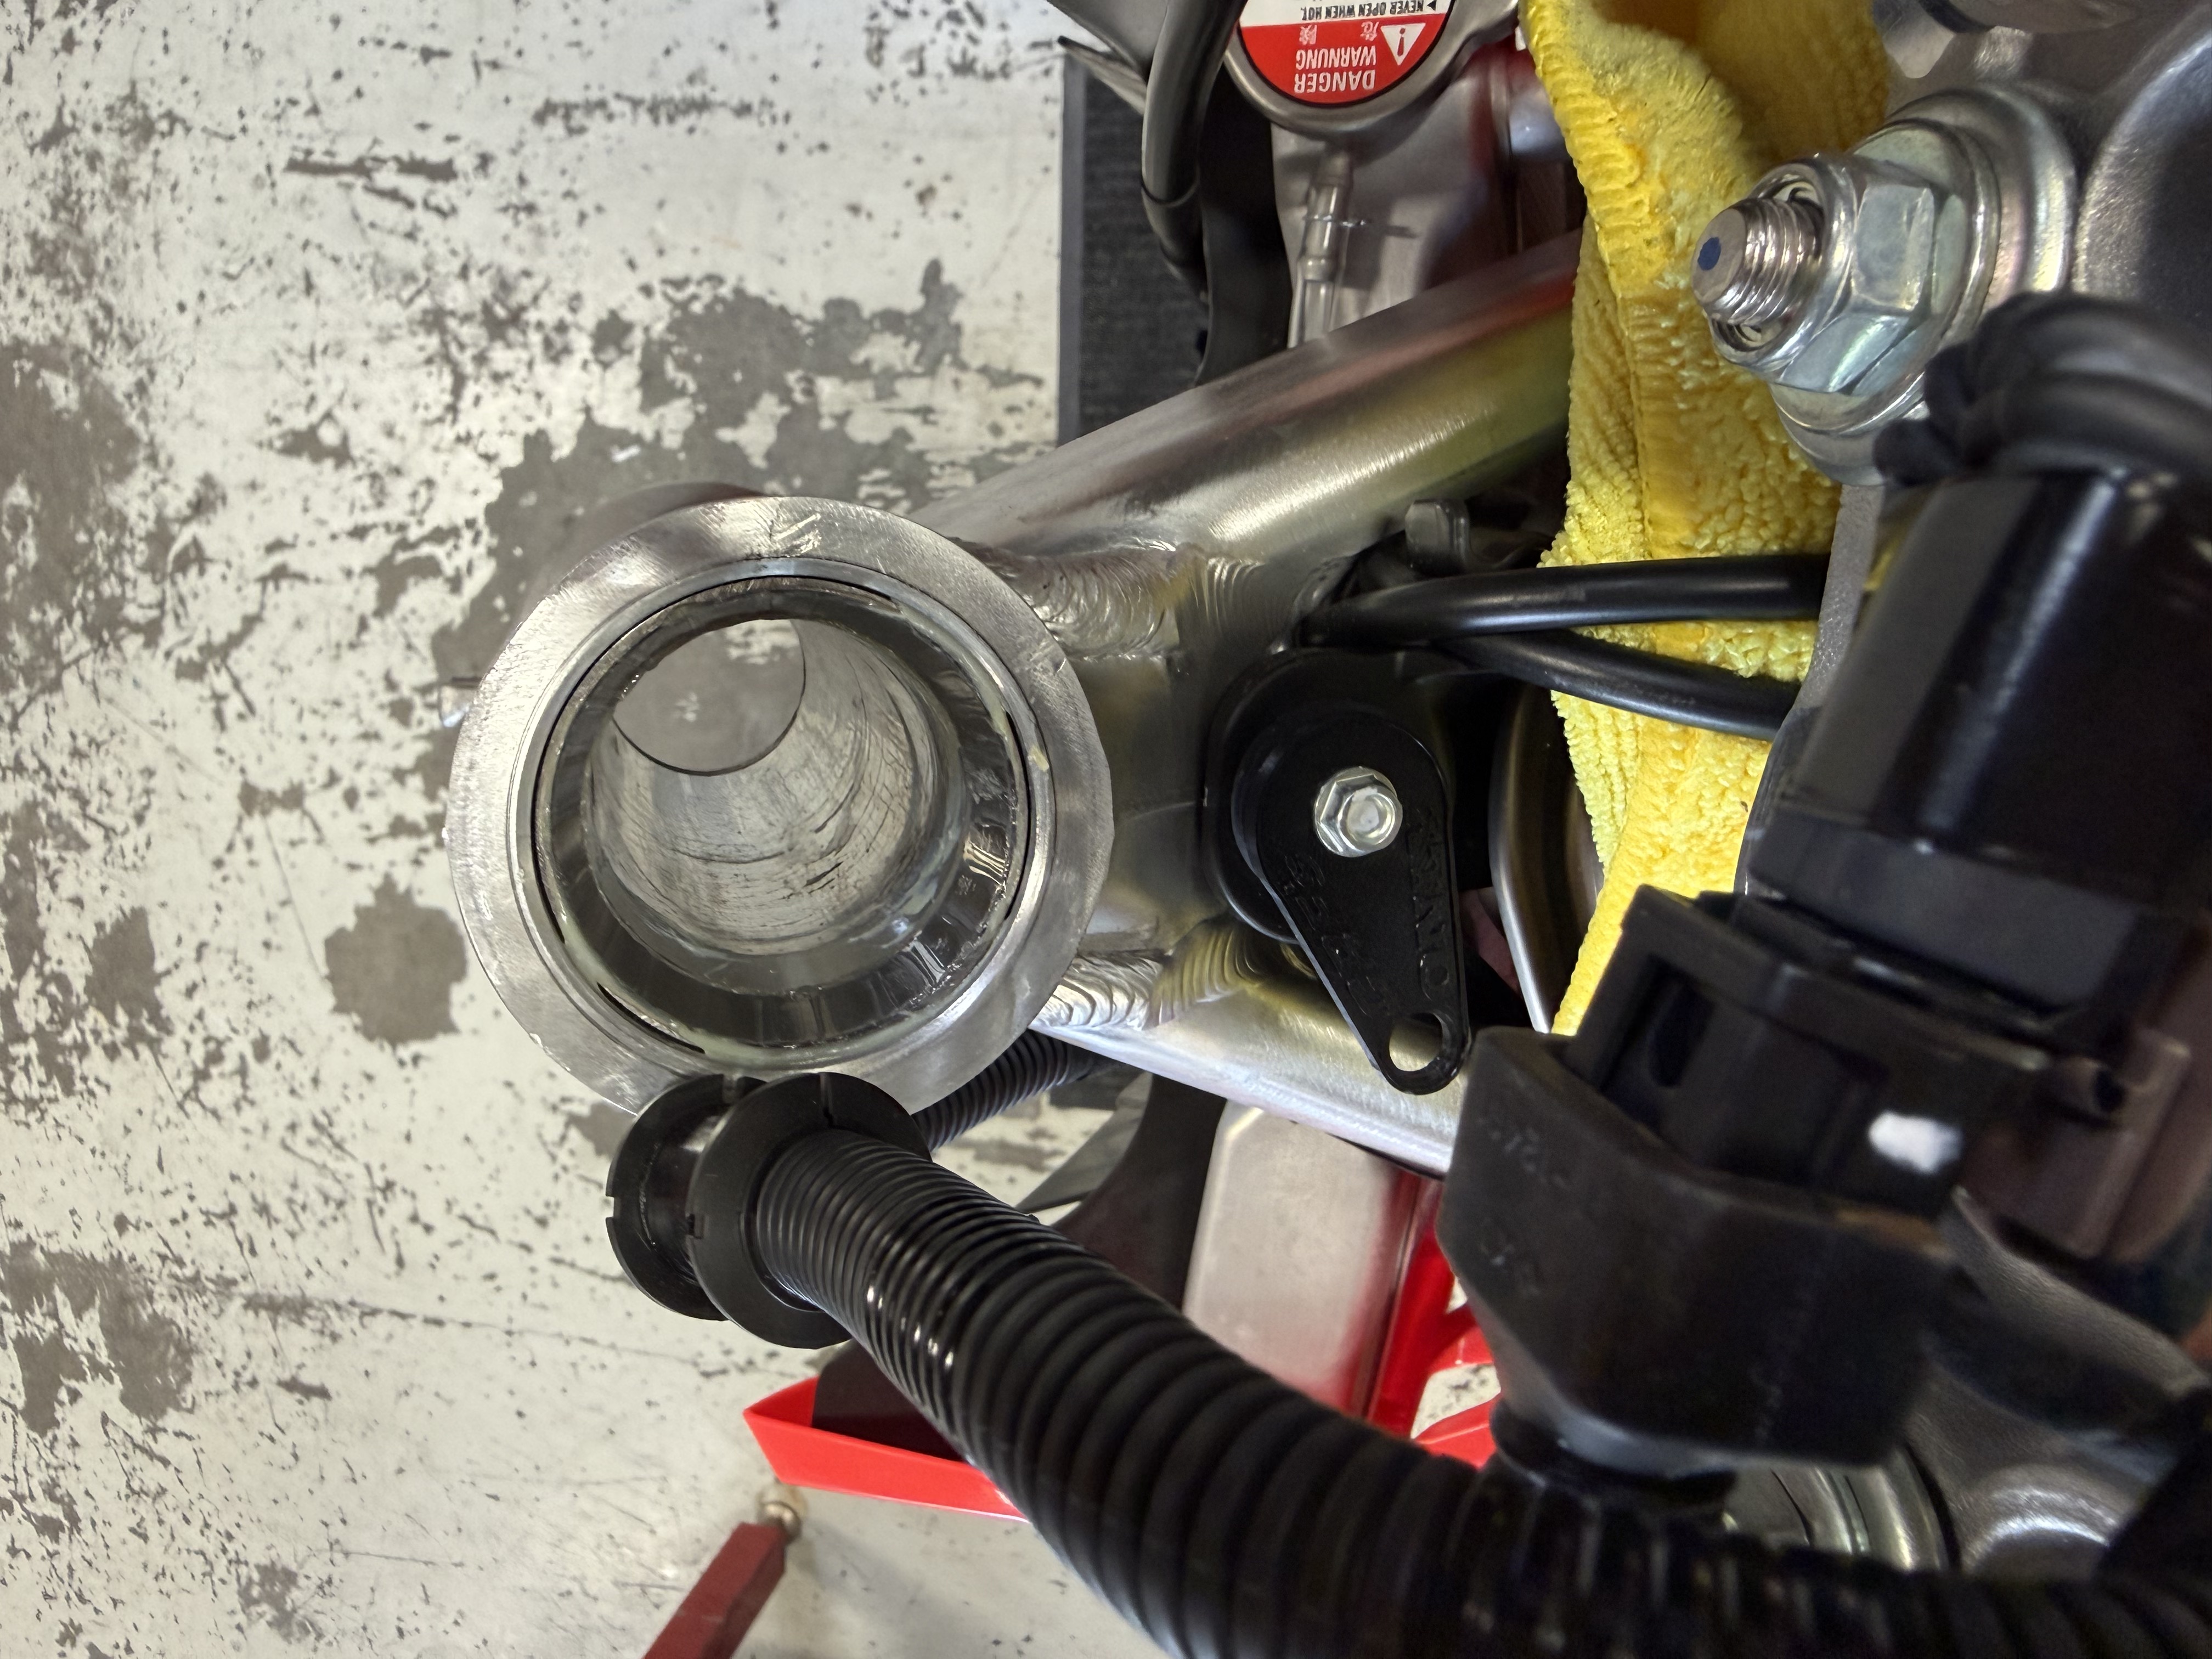
This stage focuses on opening up the chassis, inspecting the bearing areas and greasing the serviceable bearings. The steering head, swingarm and suspension linkage all get attention.

Our shop advice: don't assume a new bike is properly greased.

Check the chassis bearings before the first ride. Inspect them. Grease them. Then go ride.
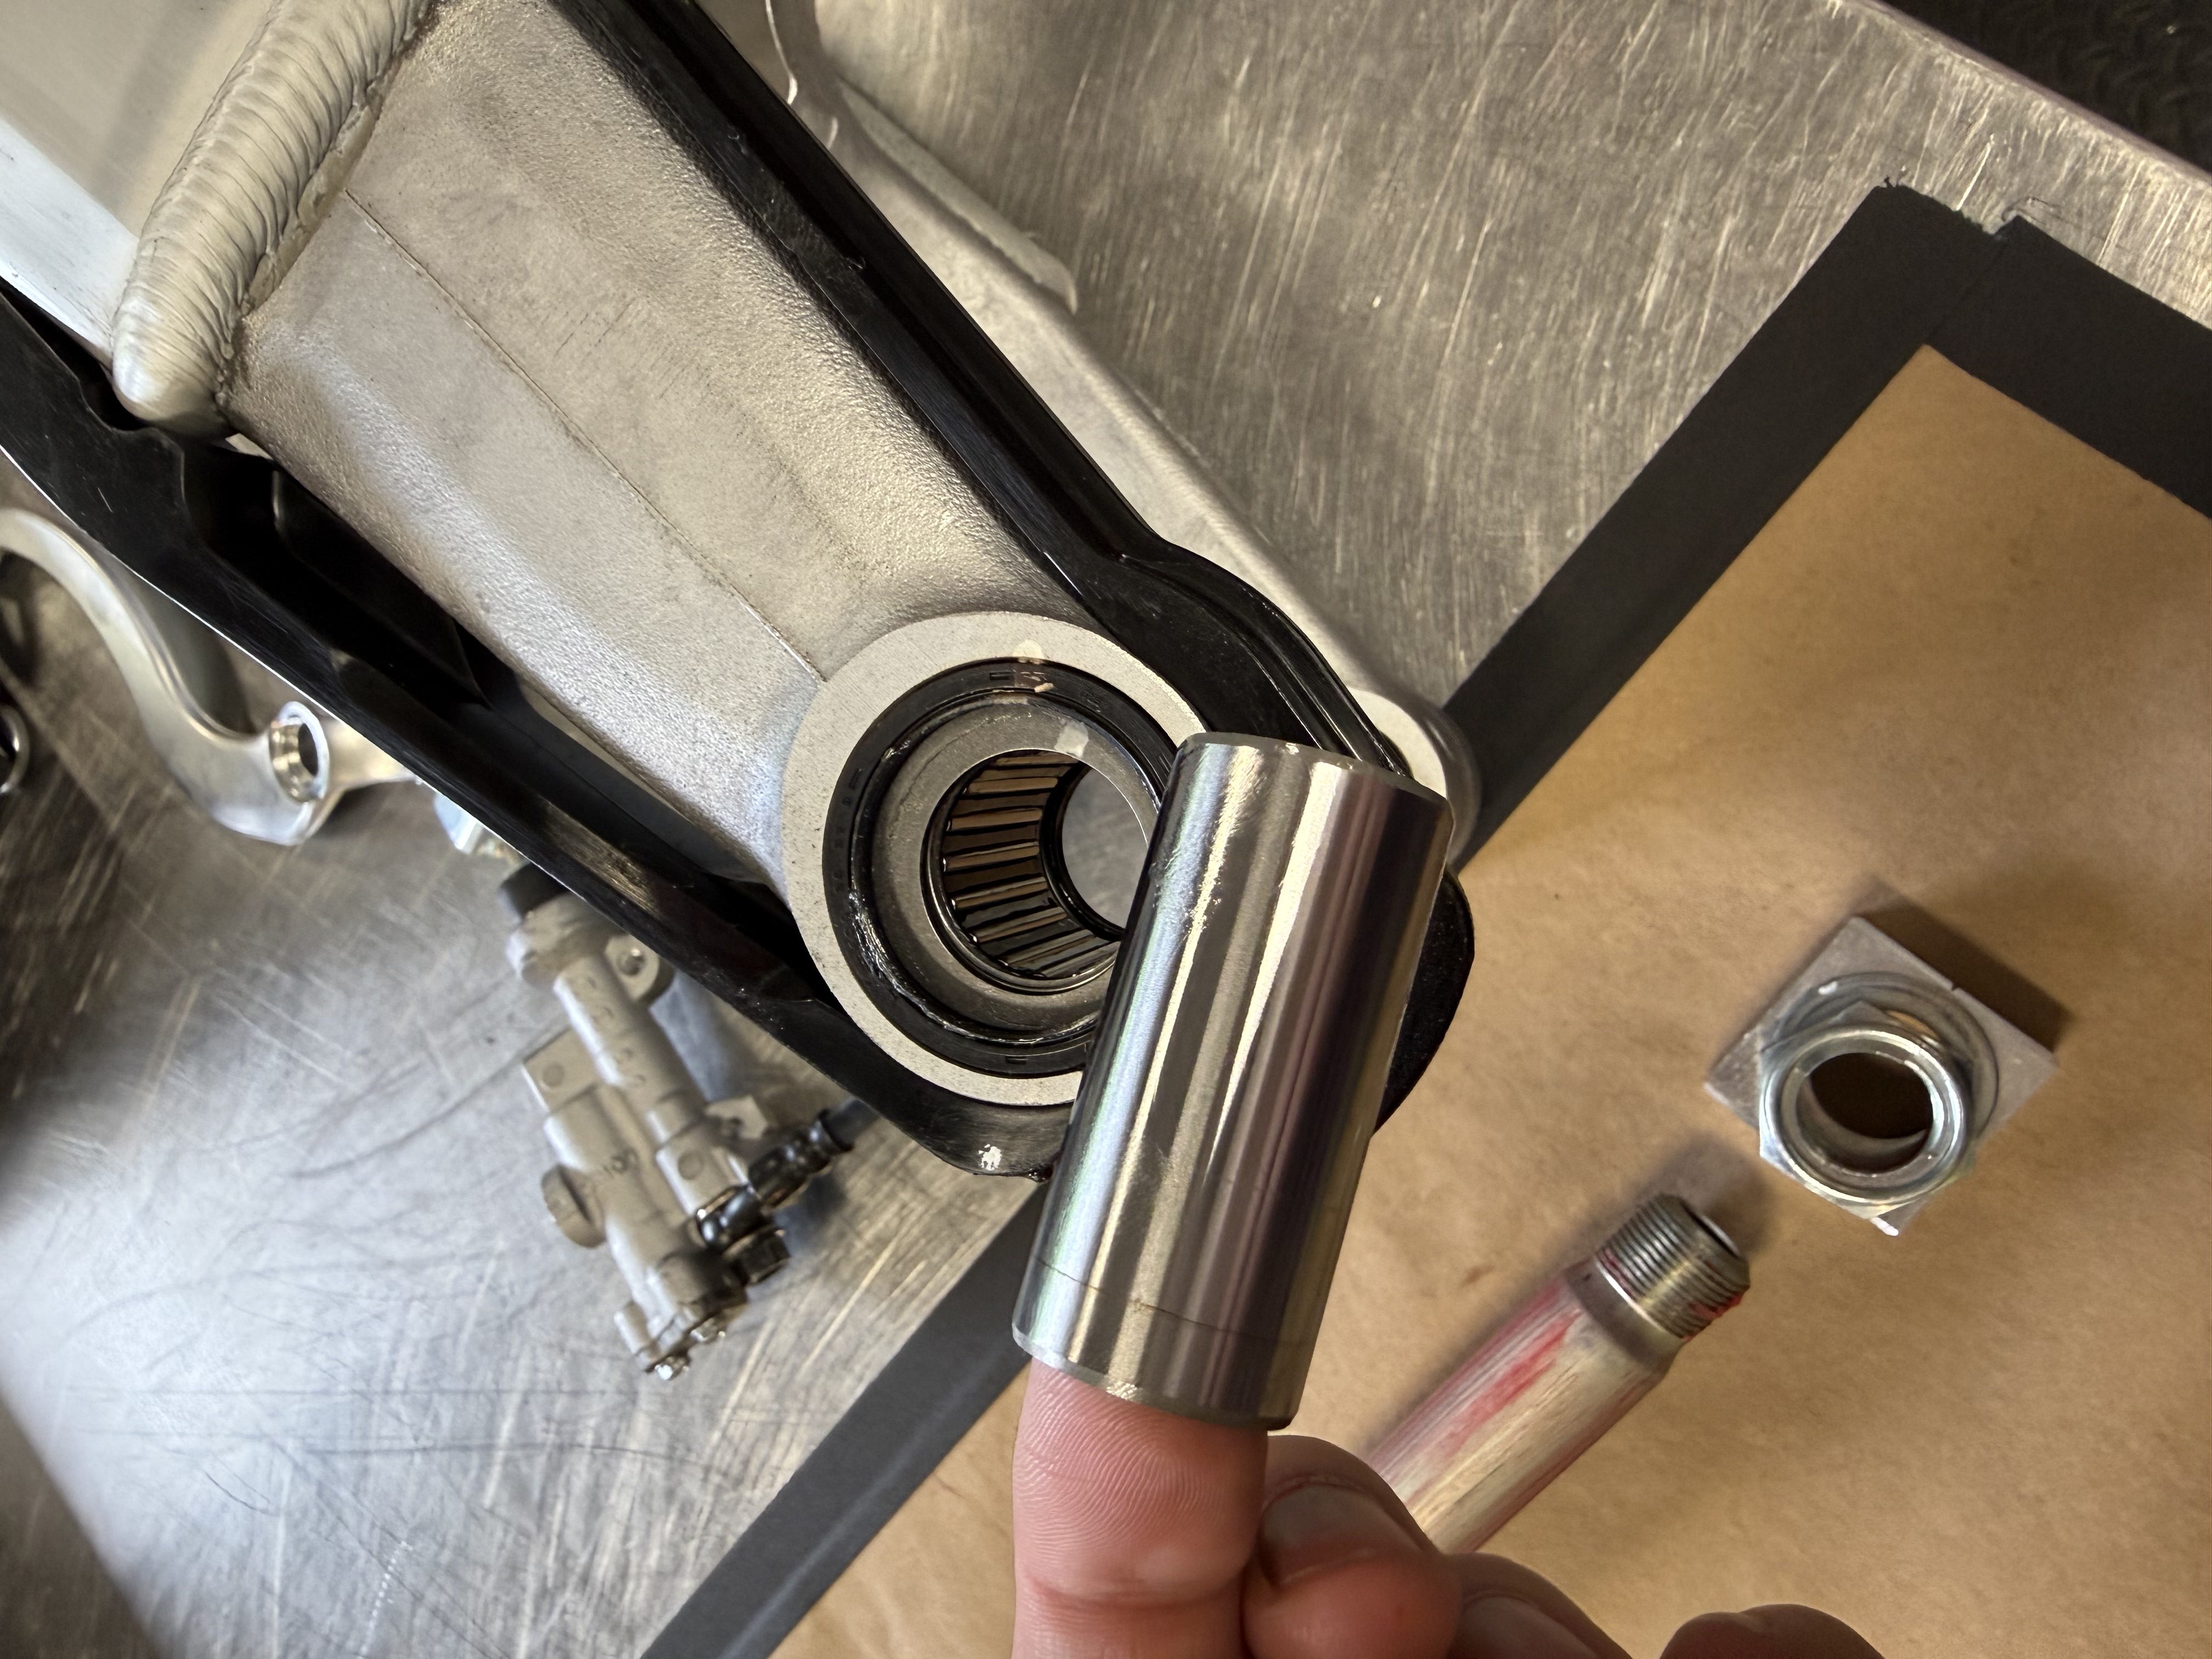
Swingarm pivot needle bearing exposed with its bearing collar removed during CRF450R race prep
Inside the swingarm pivot With the collar removed, the needle bearing is accessible for inspection and greasing.
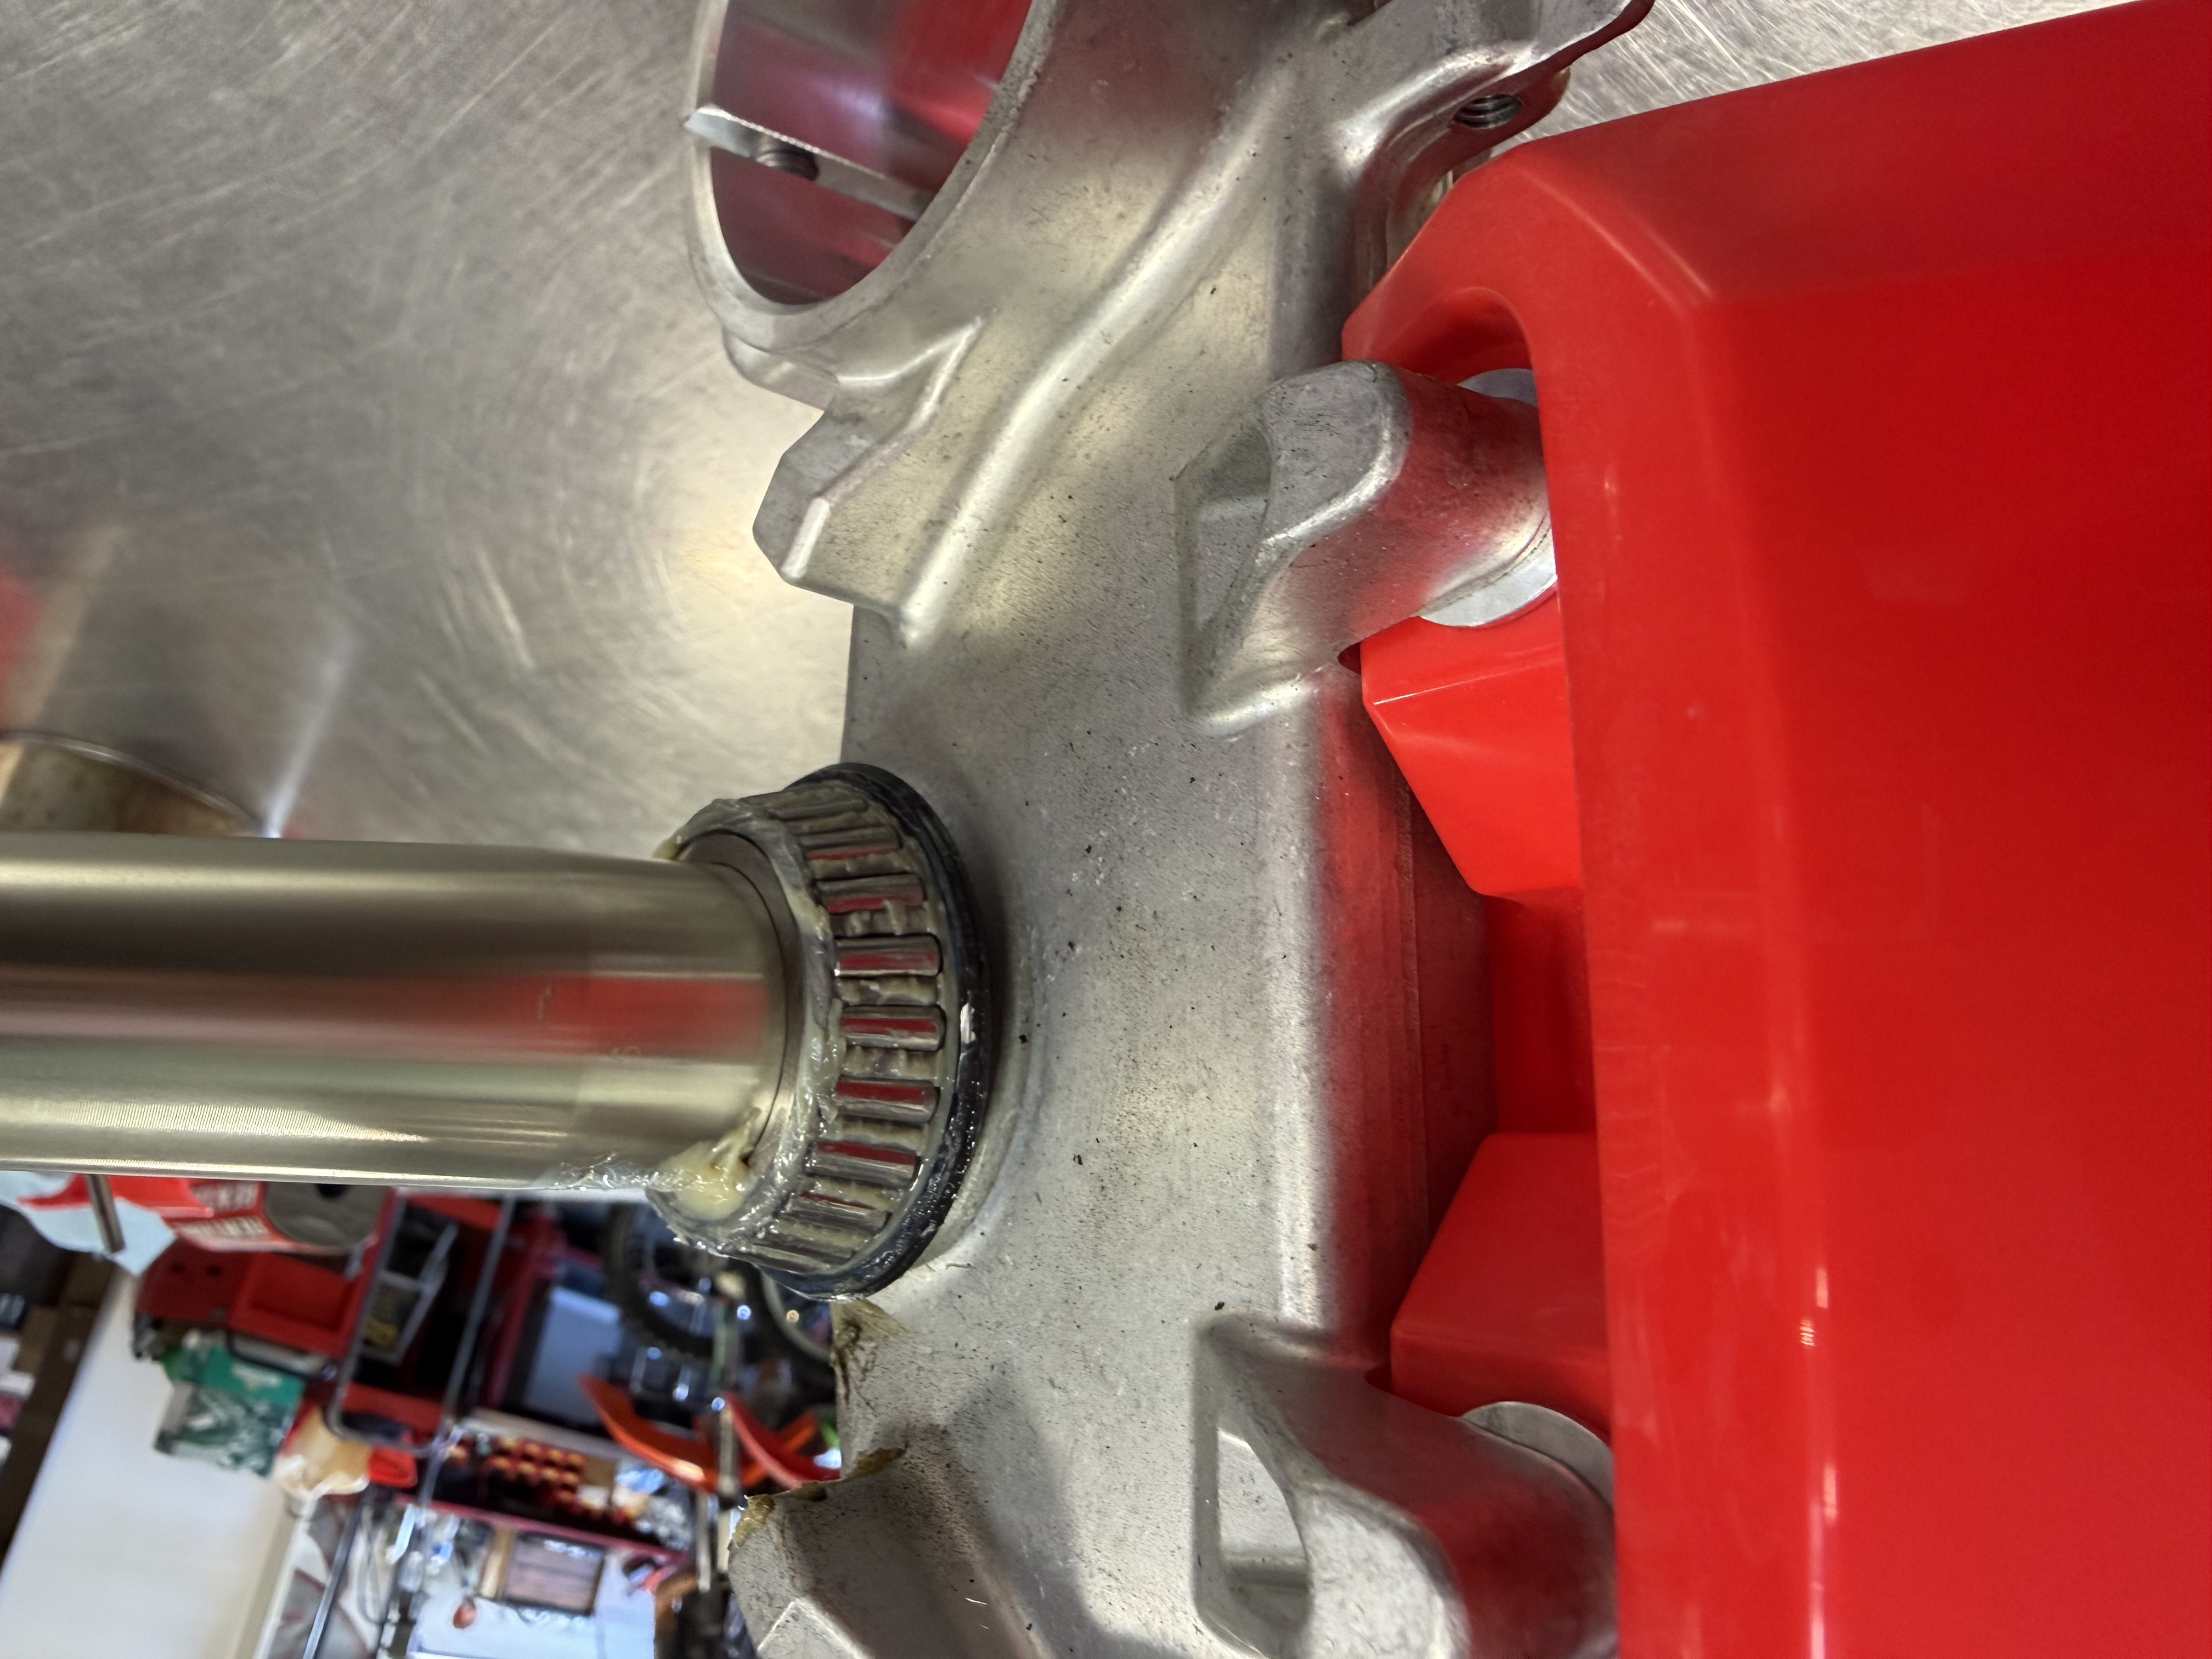
Grease visible on the exposed steering-stem tapered roller bearing during CRF450R chassis service
Steering-stem bearing service A close look at the exposed bearing and grease during the chassis-prep work.

Race Prep Notes

  • What we're addressing: Chassis bearing inspection and lubrication before the first ride.
  • Why it matters on this build: We found virtually dry bearing areas on a brand-new bike.
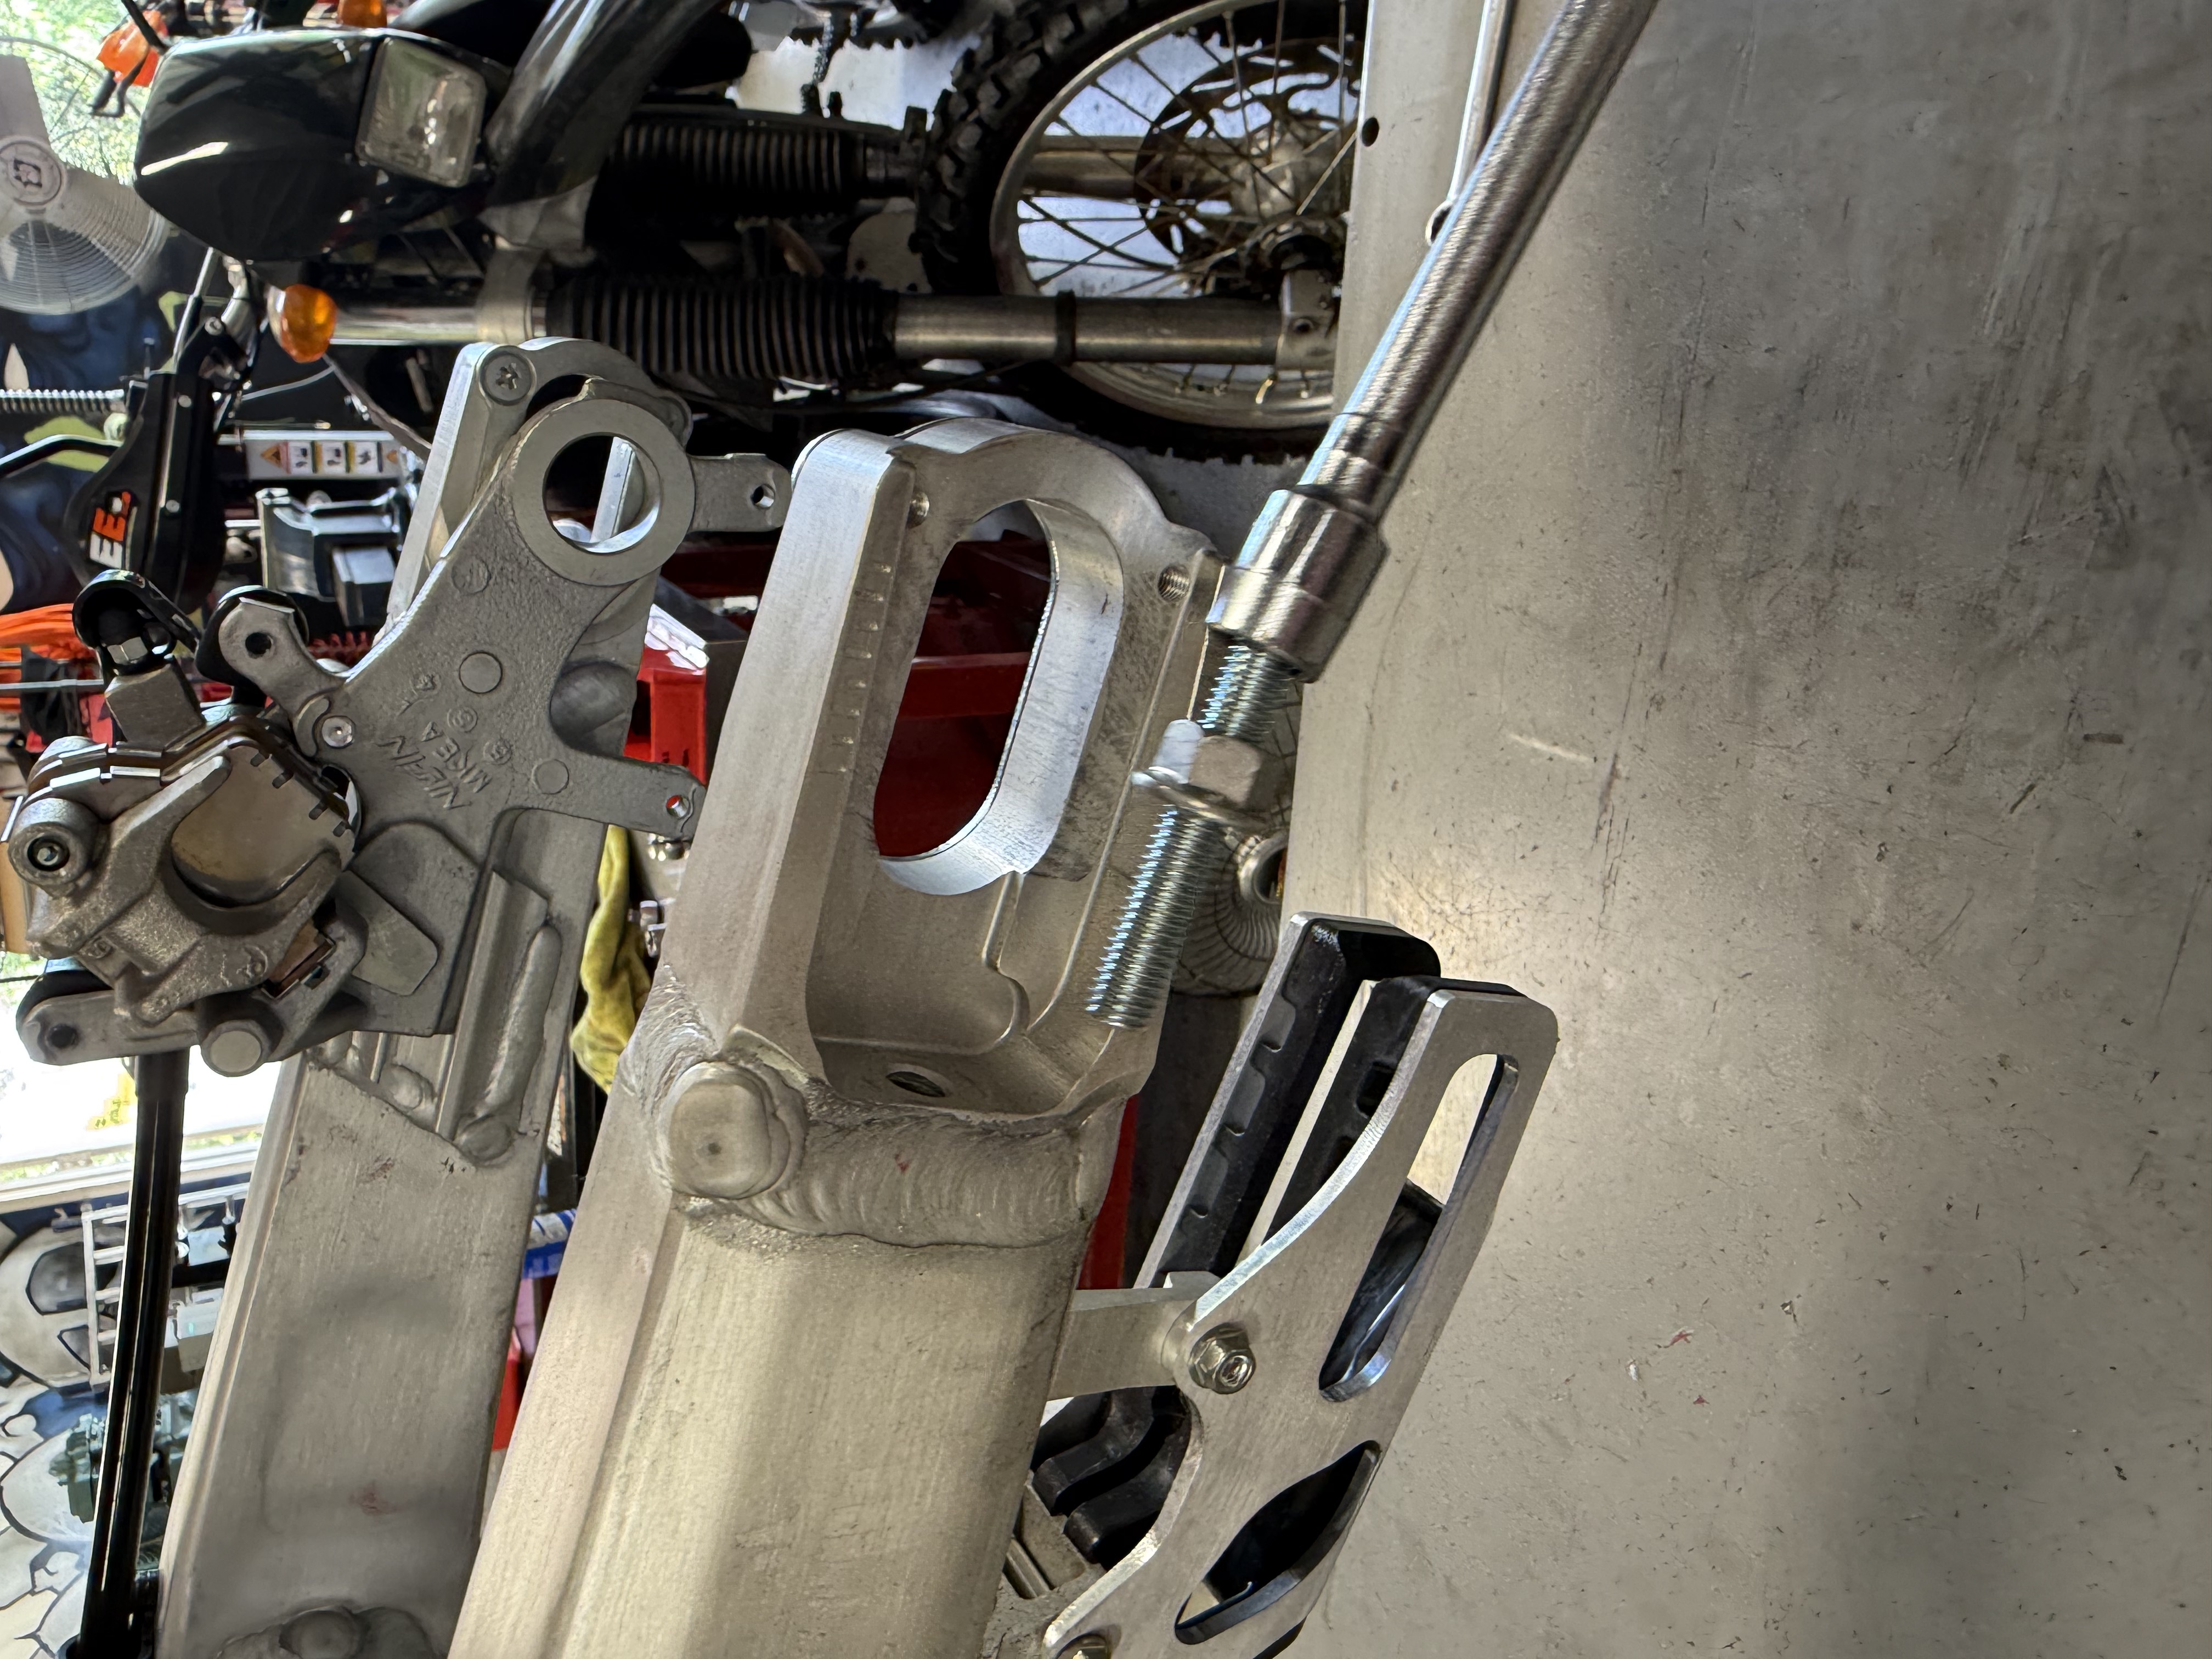
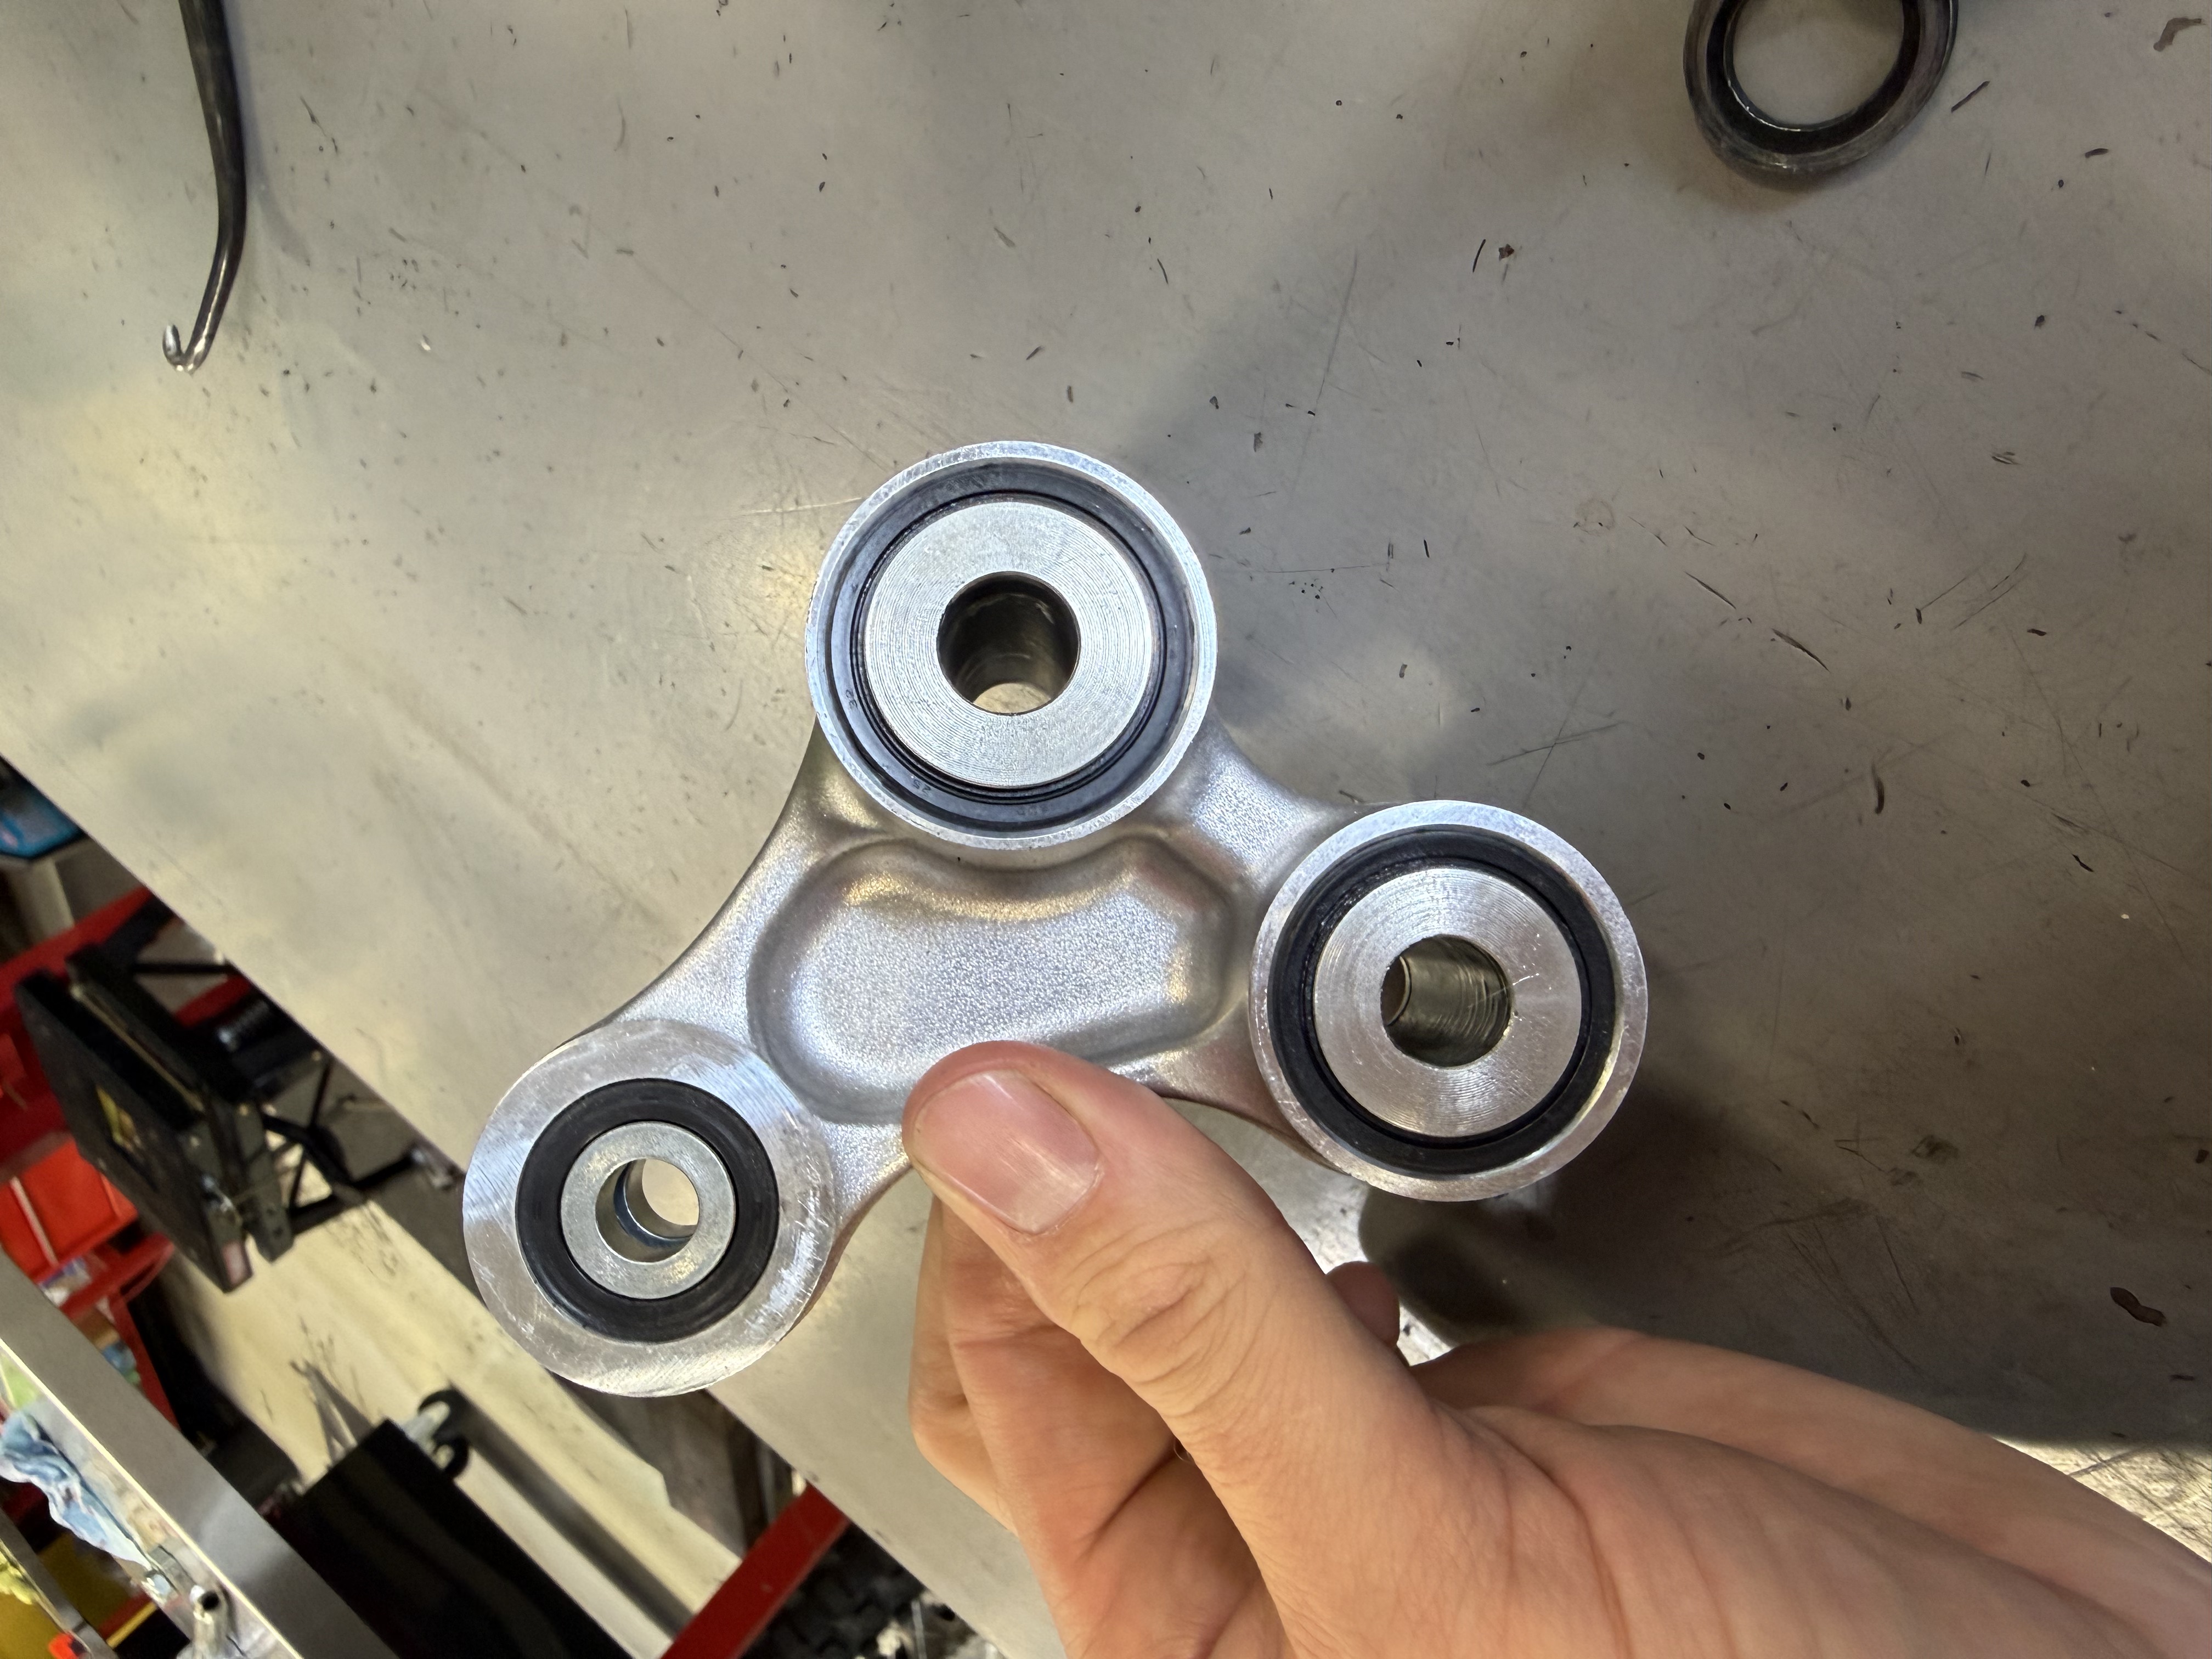
  • Areas covered: Steering head, swingarm pivot and suspension linkage, with the rear axle and adjuster area also opened up during prep.
  • Shop takeaway: Make chassis inspection and greasing part of your new-bike preparation.
  • Ride feedback: See the ECU programming update below for our first ride and follow-up test.

More from the Chassis Prep
Next in the build: ECU programming and follow-up ride results .
Update 03 • ECU Programming

From Flameouts to Smooth, Connected Power.

Our first ride revealed a problem: excessive flameouts and stalling. We reprogrammed Modes 2 and 3 in the stock ECU, then headed back out to feel the difference.

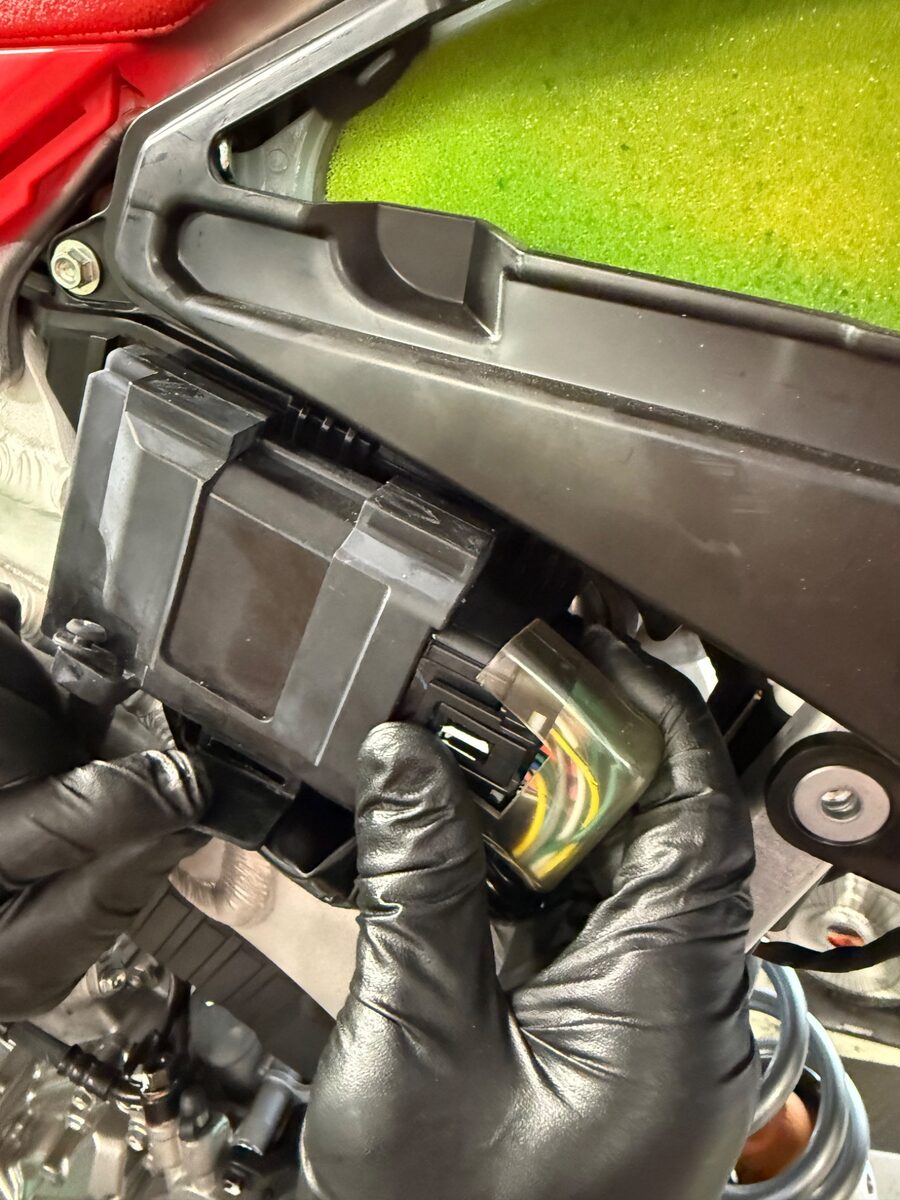
Gloved hands accessing the stock ECU and wiring connectors beside the airbox on our 2026 Honda CRF450R
Working with the original ECU on our 2026 CRF450R. This update changes the programming while retaining the stock unit.

First Ride: A Clear Issue to Address

The first ride brought excessive flameouts and stalling that interrupted the flow of riding. Before moving further into the build, we wanted to address that behavior and improve the connection between throttle input and power delivery.

Stock ECU, Tokyomods Programming

We kept the original Honda ECU and reprogrammed Modes 2 and 3 with two distinct power maps. Mode 2 focuses on torque, while Mode 3 offers a smooth, linear delivery. Both give this build a different feel at the throttle.

The follow-up ride told the story.

On our next ride, the flameouts and stalling were completely gone. Throttle response improved, the power felt more connected to our inputs, and the bike pulled stronger through the bottom, midrange and top end.

Two Maps. Two Power Characters.

These are the Tokyomods-programmed settings in our project bike's stock ECU.

Custom Mode 2

Torque Power Map

Mode 2 gives the bike a strong, torque-focused character. It is our choice when we want a more pronounced feeling of pull, paired with the improved throttle response we felt after programming.

Custom Mode 3

Linear Power Map

Mode 3 builds power smoothly and consistently through the RPM range. On our follow-up ride, it delivered an improved, predictable pull from the bottom through the midrange and into the top end.

ECU Programming & Ride Notes

  • What changed: Tokyomods reprogramming of Modes 2 and 3 in the stock ECU.
  • Why we did it: Excessive flameouts and stalling on our first ride.
  • Results on the next ride: No flameouts or stalling, improved throttle response and a more connected feel.
  • Power delivery: Stronger-feeling bottom, midrange and top end, with a torque-focused Mode 2 and a linear Mode 3.
  • Shop takeaway: On this build, ECU programming made a substantial difference to rideability while retaining the original ECU.

These are our rider impressions from the follow-up ride. We'll continue adding setup details and ride notes as the project progresses.

Want to explore programming for your bike? See Tokyomods ECU reprogramming .